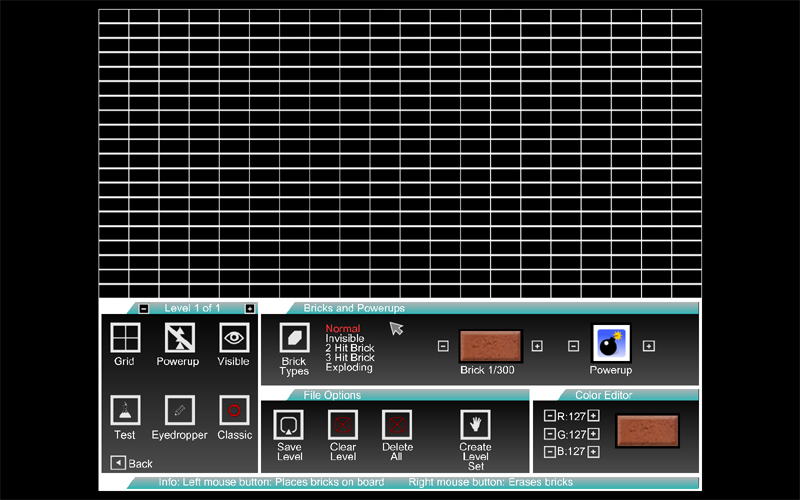
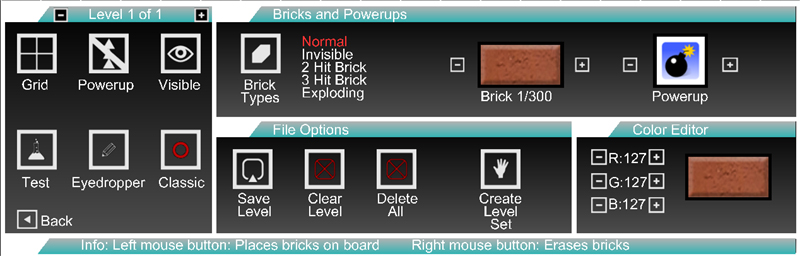
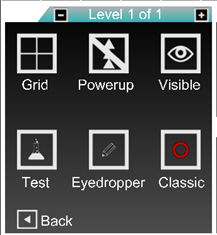
The Visible button sets whether you can see which bricks are special by placing an overlay over invisible, 2-hit, and 3-hit bricks. The Classic button toggles classic mode, so that you can test your level in classic mode. The Eyedropper tools lets you copy the color and texture settings from a brick you've created in the grid above. This can be useful if you have shaded the bricks on your board with many different colors. Click on the Eyedropper tool, and then hover your mosue pointer over the briuck you want to copy. Click the left mouse button, and that brick's color and texture information will be moved over to the editor The Powerup icon turns on powerup-editing mode. You are now able to place powerups on the playfield instead of bricks. The powerups will show up as small overlays. The Test button lets you playtest the board you are editing. Brickout will load the new board and you can test it from there. When you're done testing, press escape to return to the editor. Clicking Test automatically saves the progress you've made on your board. |
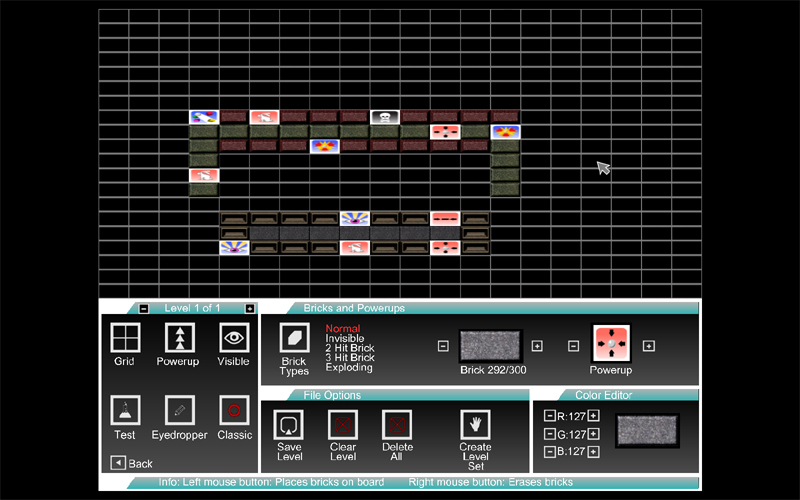
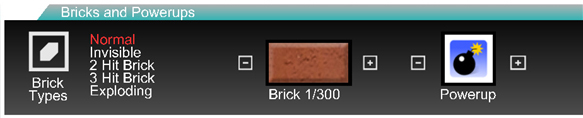
You can use the plus and minus keys next to the Brick and Powerup boxes to select new bricks or powerups. If you are making a board specifically for classic mode, you want to choose Brick # 90, since it was designed for that purpose. Other bricks will work in classic mode, but they will not have the proper color range in some cases. |
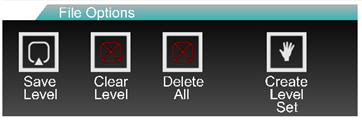
Save Level saves the current level. Be sure to save a level before moving on to another level, as your changes won't be saved otherwise. Clear Level clears the current level completely, leaving you with a blank editing grid. A window will pop up to ask for your permission before the level is cleared. Delete All deletes all of the levels you have created in the User Data folder. This function is useful for cleaning up levels once you create a levelset. A warning will appear before all the levels are deleted permanently. Create Level Set will create a complete level package, using the levels you have generated in the editor. You can have up to 25 levels in each level set. You will be asked for 4 pieces of information when you create a level set:
Once this information is entered, Brickout will cycle through all of the levels in the editor and create a levelset. This levelset is then deposited in the Level_Sets directory, and will be immediately available from the Load Level button on the main menu. If you want to email this level set to us for inclusion on our website, attach the levelset .bls file to an email and send it to: delsydsoftware@gmail.com Once we've taken a look at the levelset, we'll put it up on our website for other people to enjoy for free. |